


We’ve set aside two weeks to make a laundry at Closerie Falaiseau. Like most French houses, it doesn’t have one. I’ve talked about this before. In fact, Jean Michel has already drilled a 10 cm diameter hole through a 70 cm wall to evacuate the water from the washing machine in the downstairs bathroom into the drain and not the shower!

So far, we’ve been using the little house as a laundry but it’s not very practical for the cleaners when they are washing and drying two full sets of sheets and towels, including bathrobes, for the next gîte guests.
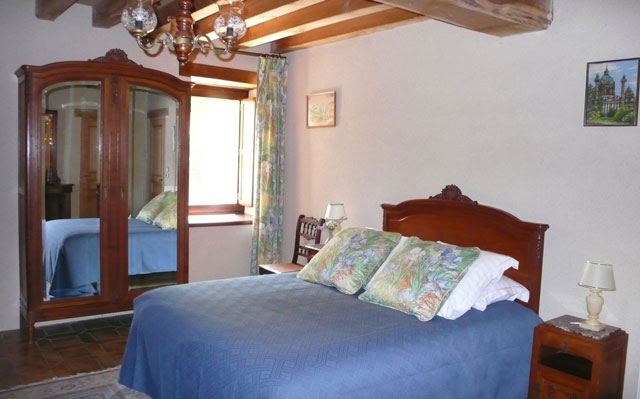
We have a small room at the end of the workshop that seems perfect. There is a door that leads directly into the far end of the workshop from the gîte bedroom with its en-suite bathroom (with the first washing machine).
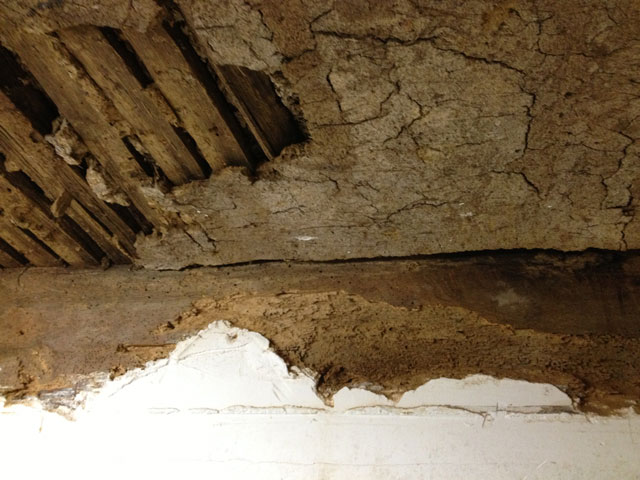
The ceiling is wattle and daub which is a traditional way of constructing walls and ceilings in which vertical /horizontalwooden stakes, or wattles, are woven with horizontal/vertical twigs and branches, and then daubed with clay or mud. Ours is probably about 400 years old. At present, most of it is propped up with two large storage cupboards.
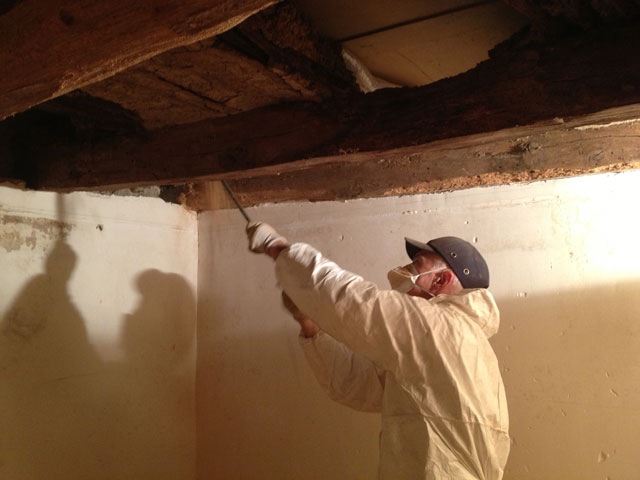
We dismantle the cupboards, which are large and heavy, and cart them off to the little house. Jean Michel then attacks the ceiling and starts letting out ominous sounds through his face mask. As he uses a poker affair to pull down the rotten bits of clay, he discovers that parts of some of the beams are rotten as well.
This requires an extra step not included in the initial programme. First treatment with a product called Crésyl, based on cresol, which probably poisons the user as much as any lurking insects and spiders. It smells foul in any case.
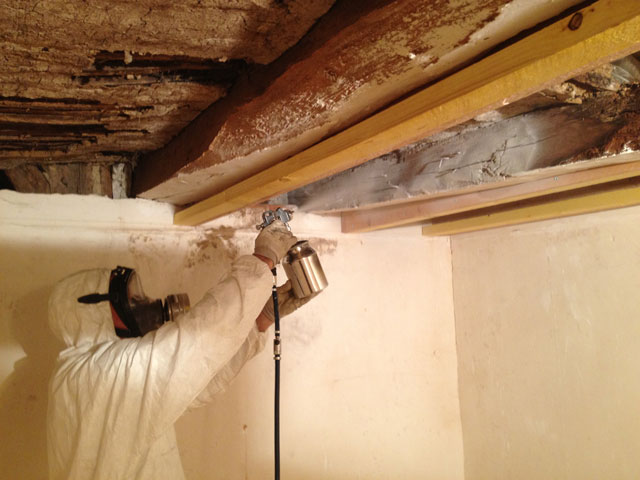
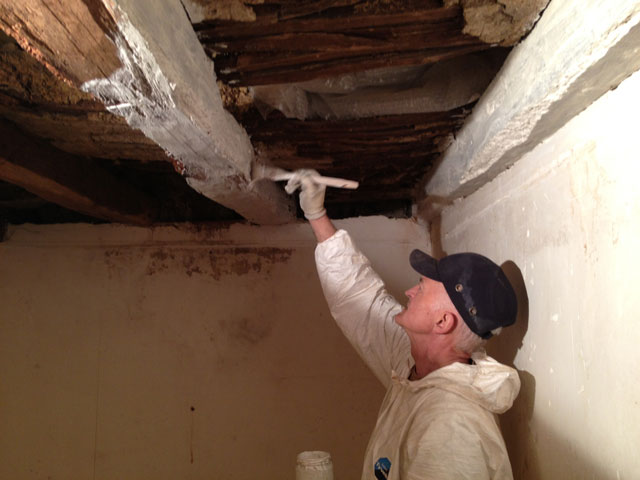
After that, the original beams are painted with limewash before adding secondary beams to support the ceiling. The wattle and daub is then sprayed with limewash, which is a much more environment-friendly product altogether. It should all last another 20 or 30 years, which is all we need anyway.
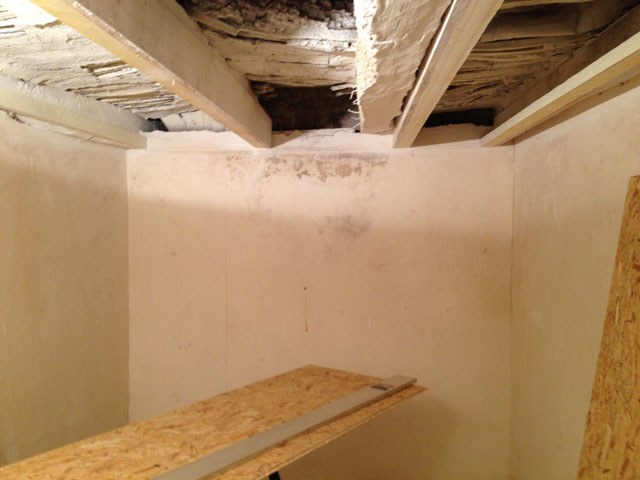
Jean Michel then puts up a ceiling made of thick particle-board floor panels. He can’t use normal plasterboard ceiling panels because they are not strong enough to hold up any falling mud and daub.
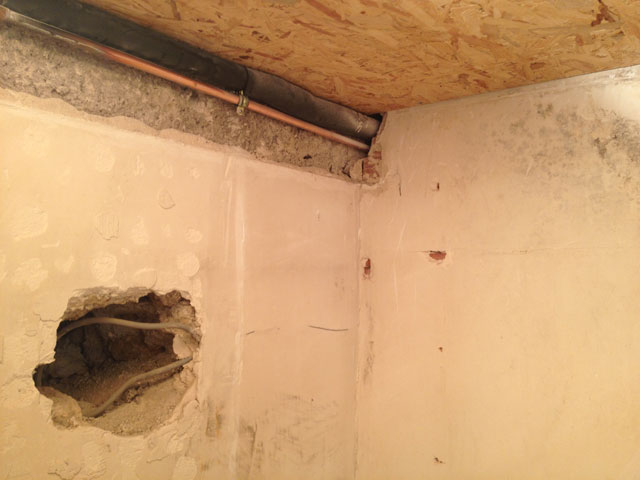
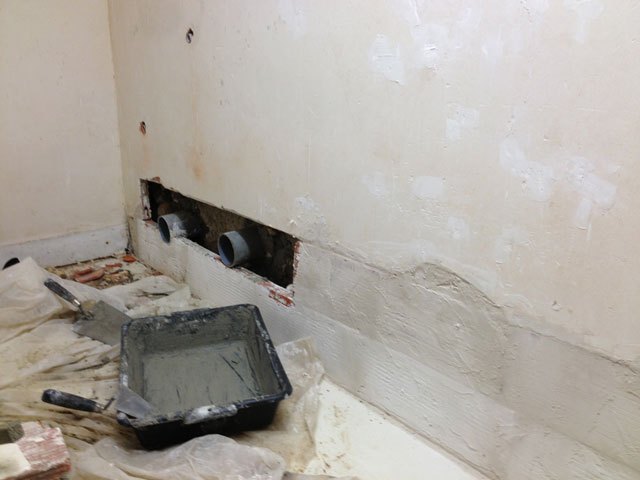
I then don my throwaway overall (though I can’t find my cap) and take over the ceiling by painting it, first a primer, then a second coat. I also use filler to plug up any holes in the wall, particularly a couple of very large ones (about 10 cm in diameter) that seem to come from a previous attempt to drill holes in the wall.
I learn the technique of balancing stones on each other until the hole is filled vertically in order stop the render coming out. Jean Michel neglected to inform me of this step so I’ve already had to redo one of the holes. Trial and error is the best teacher, he tells me. I prefer not to waste time personally.
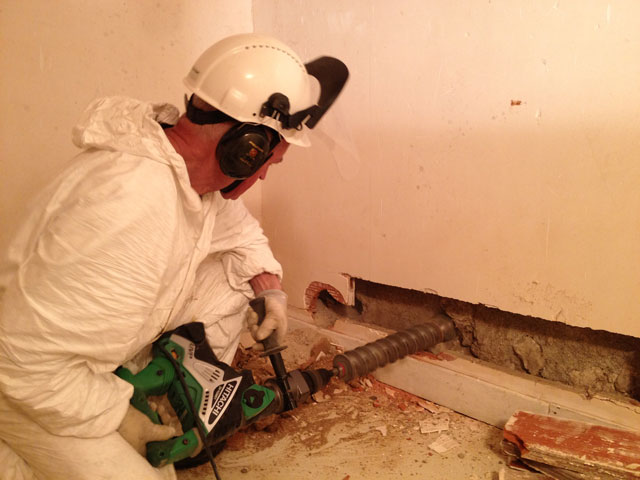
Meanwhile, Jean Michel starts drilling the first 8 cm diameter hole to evacuate air from the clothes dryer. The second serious problem kicks in. As he uses the percussion drill on a different wall from the one in the bathroom, the clay and stones inside the wall start collapsing from the vibration. This wall is obviously of inferior quality.
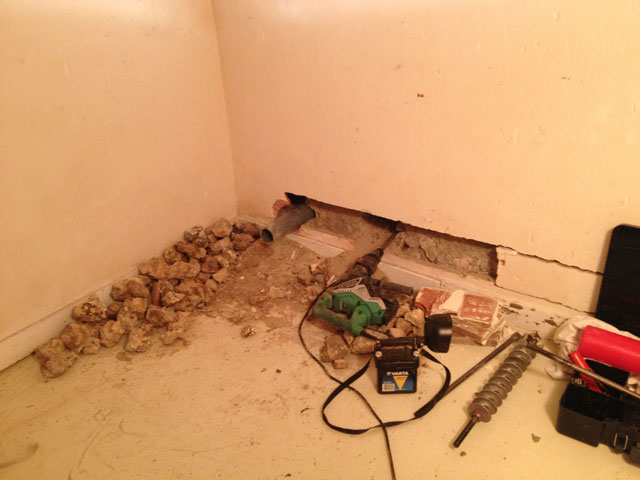
He then discovers that for some reason, there is a beam between the wall and the concrete floor slab that is rotten as well. The plaster wall starts breaking up. Another visit to Brico Depot proves necessary to buy thin bricks to hold up the plaster and replace the beam. He spends a lot of uncomfortable time half-lying on the floor.
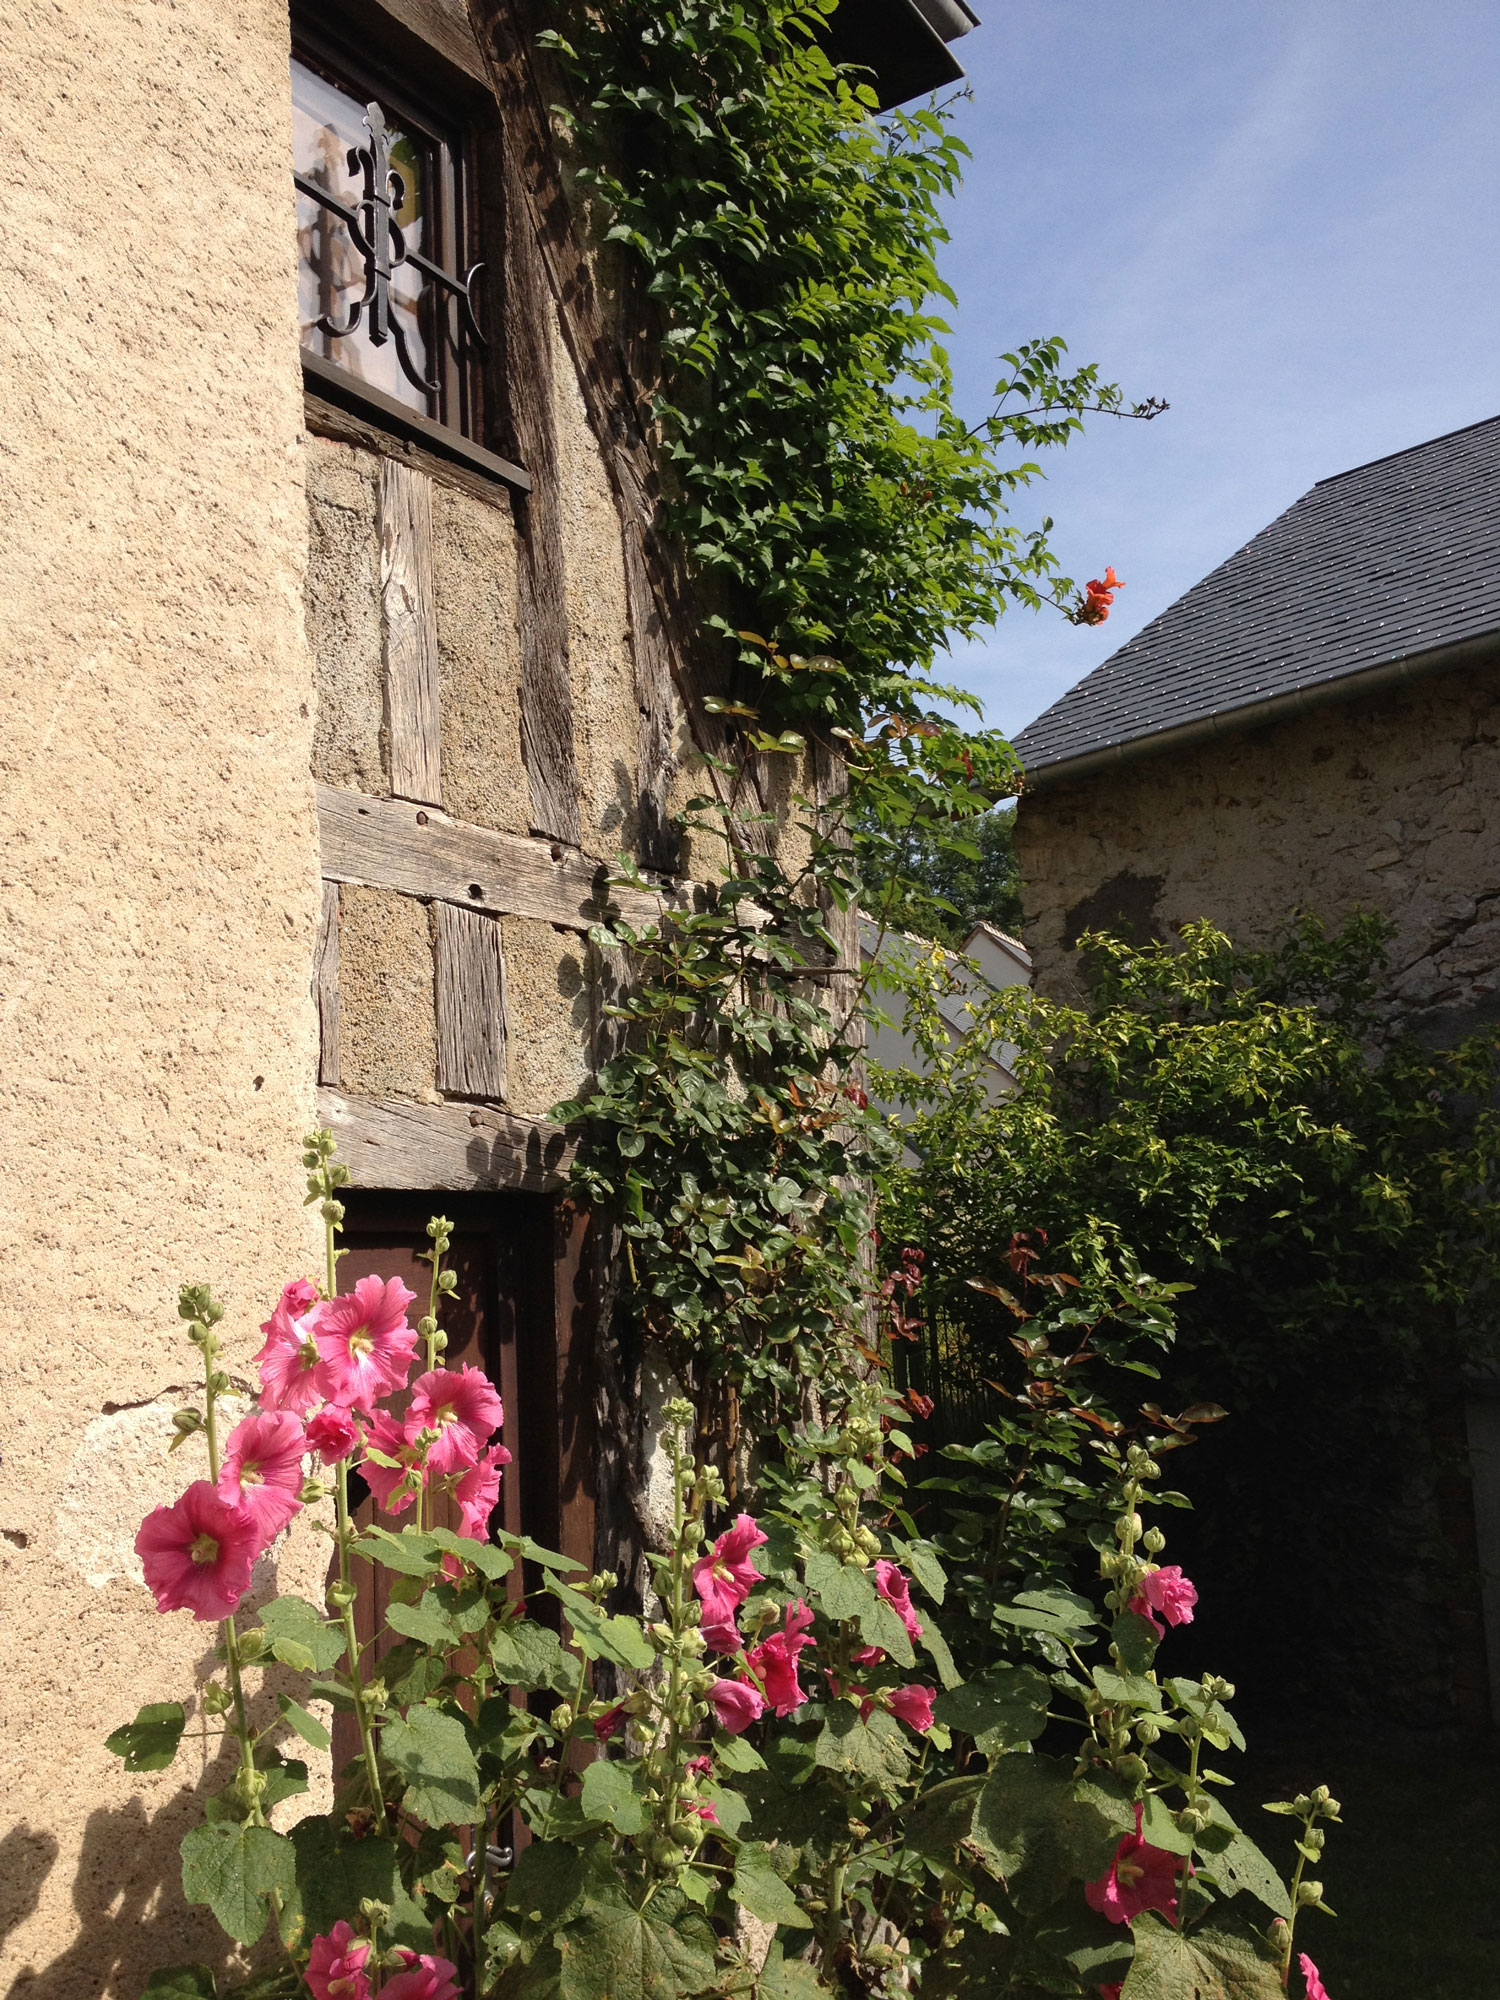
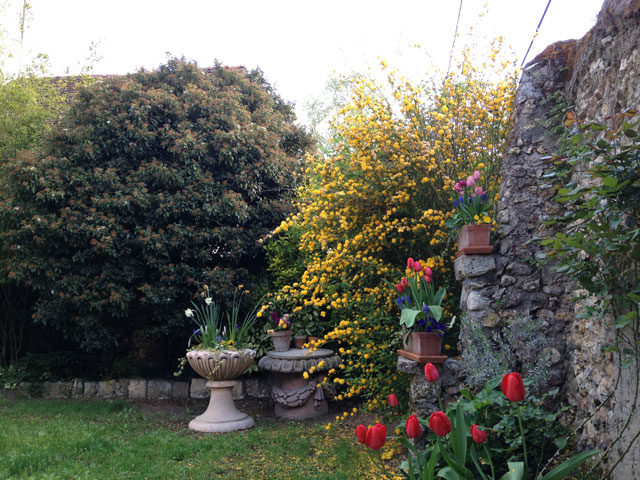
By then, we are well into the second week and decide to extend our stay by a third week, having our tea break in the garden and feeling sorry that we can’t be out on our bikes using the weather to better advantage and, in particular, seeing all the tulips in Château de Cheverny.
I’m sure you can’t wait for the next episode!