
We’ve set aside two weeks to make a laundry at Closerie Falaiseau. Like most French houses, it doesn’t have one. I’ve talked about this before. In fact, Jean Michel has already drilled a 10 cm diameter hole through a 70 cm wall to evacuate the water from the washing machine in the downstairs bathroom into the drain and not the shower!

So far, we’ve been using the little house as a laundry but it’s not very practical for the cleaners when they are washing and drying two full sets of sheets and towels, including bathrobes, for the next gîte guests.
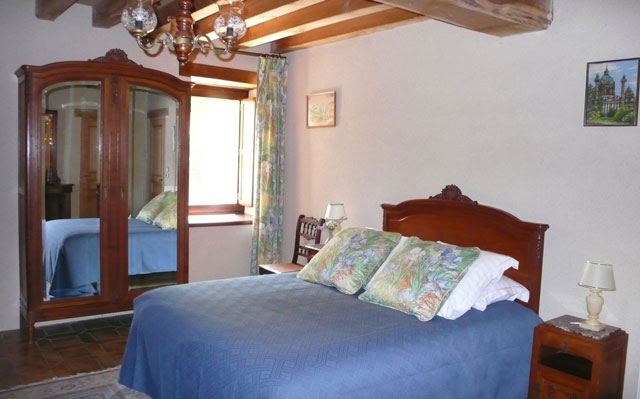
We have a small room at the end of the workshop that seems perfect. There is a door that leads directly into the far end of the workshop from the gîte bedroom with its en-suite bathroom (with the first washing machine).
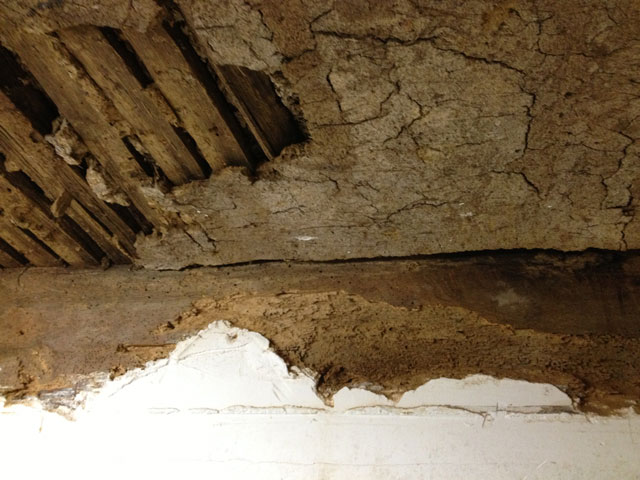
The ceiling is wattle and daub which is a traditional way of constructing walls and ceilings in which vertical /horizontalwooden stakes, or wattles, are woven with horizontal/vertical twigs and branches, and then daubed with clay or mud. Ours is probably about 400 years old. At present, most of it is propped up with two large storage cupboards.
We dismantle the cupboards, which are large and heavy, and cart them off to the little house. Jean Michel then attacks the ceiling and starts letting out ominous sounds through his face mask. As he uses a poker affair to pull down the rotten bits of clay, he discovers that parts of some of the beams are rotten as well.
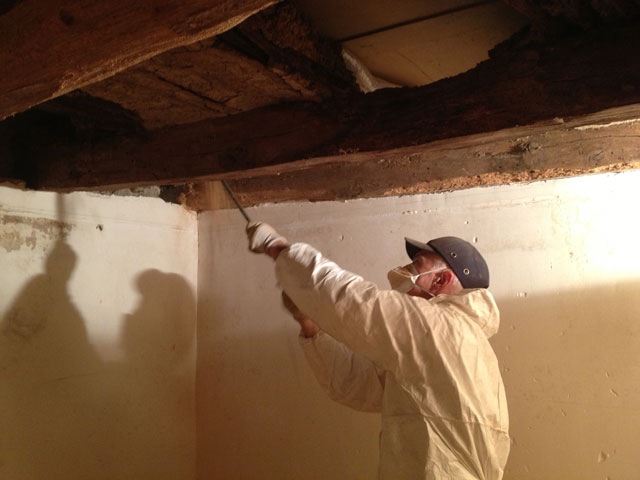
This requires an extra step not included in the initial programme. First treatment with a product called Crésyl, based on cresol, which probably poisons the user as much as any lurking insects and spiders. It smells foul in any case.
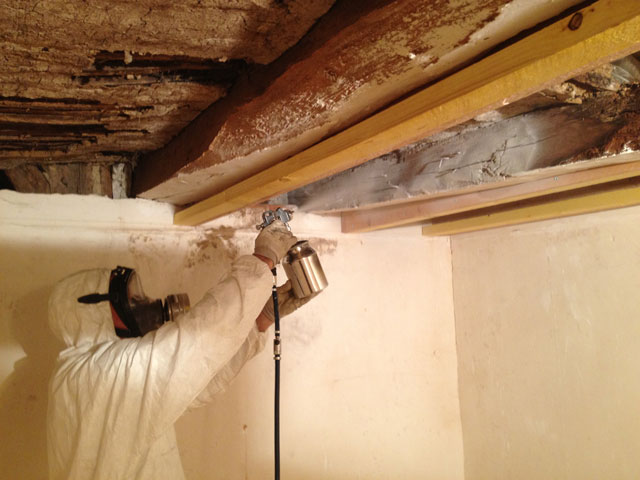
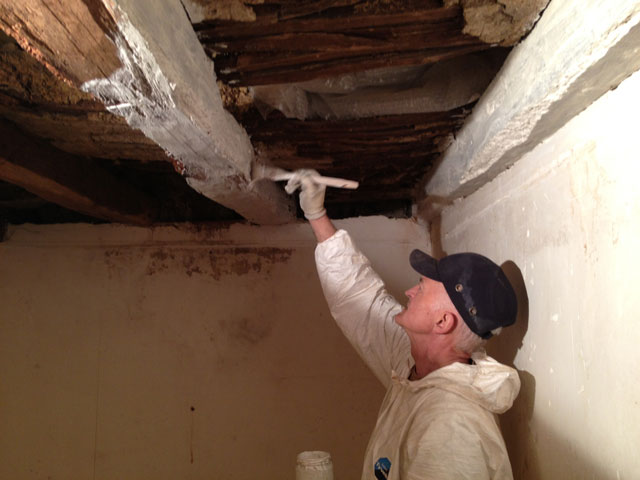
After that, the original beams are painted with limewash before adding secondary beams to support the ceiling. The wattle and daub is then sprayed with limewash, which is a much more environment-friendly product altogether. It should all last another 20 or 30 years, which is all we need anyway.
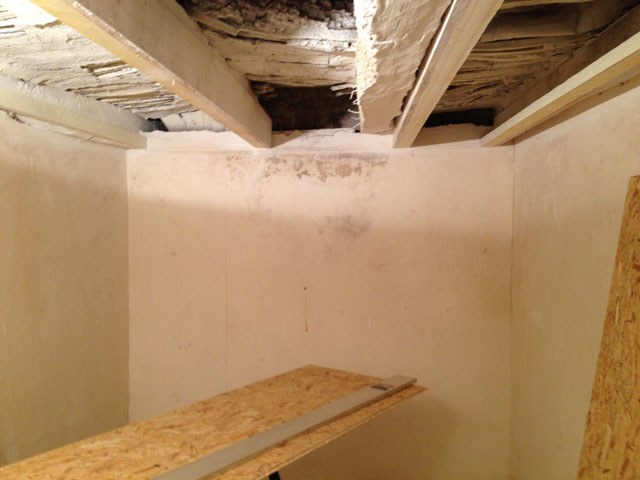
Jean Michel then puts up a ceiling made of thick particle-board floor panels. He can’t use normal plasterboard ceiling panels because they are not strong enough to hold up any falling mud and daub.
I then don my throwaway overall (though I can’t find my cap) and take over the ceiling by painting it, first a primer, then a second coat. I also use filler to plug up any holes in the wall, particularly a couple of very large ones (about 10 cm in diameter) that seem to come from a previous attempt to drill holes in the wall.
I learn the technique of balancing stones on each other until the hole is filled vertically in order stop the render coming out. Jean Michel neglected to inform me of this step so I’ve already had to redo one of the holes. Trial and error is the best teacher, he tells me. I prefer not to waste time personally.
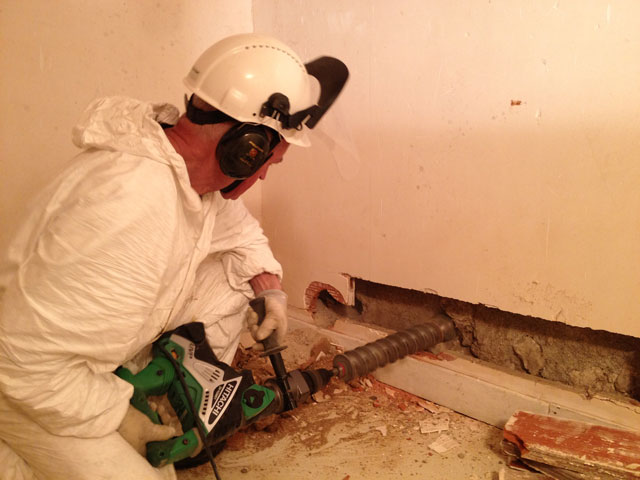
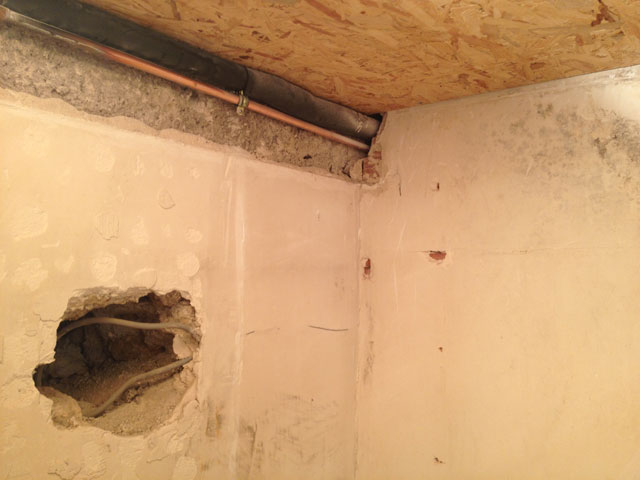
Meanwhile, Jean Michel starts drilling the first 8 cm diameter hole to evacuate air from the clothes dryer. The second serious problem kicks in. As he uses the percussion drill on a different wall from the one in the bathroom, the clay and stones inside the wall start collapsing from the vibration. This wall is obviously of inferior quality.
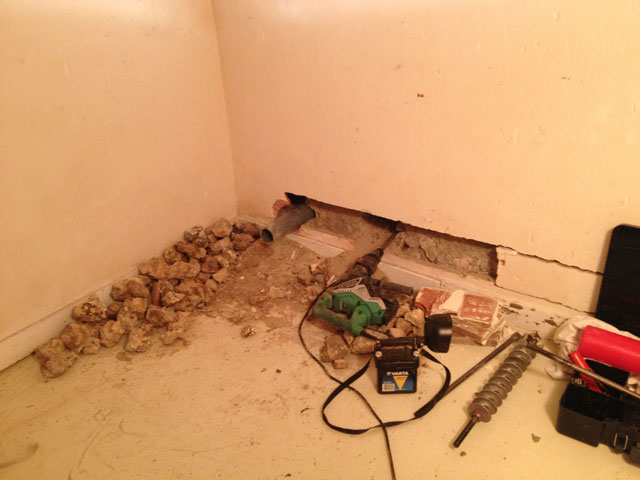
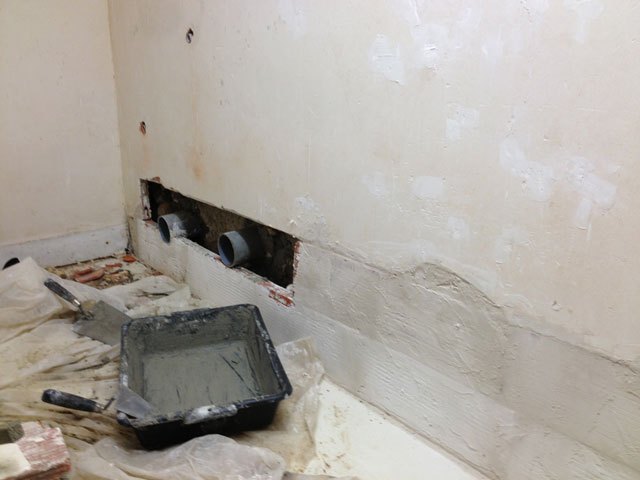
He then discovers that for some reason, there is a beam between the wall and the concrete floor slab that is rotten as well. The plaster wall starts breaking up. Another visit to Brico Depot proves necessary to buy thin bricks to hold up the plaster and replace the beam. He spends a lot of uncomfortable time half-lying on the floor.
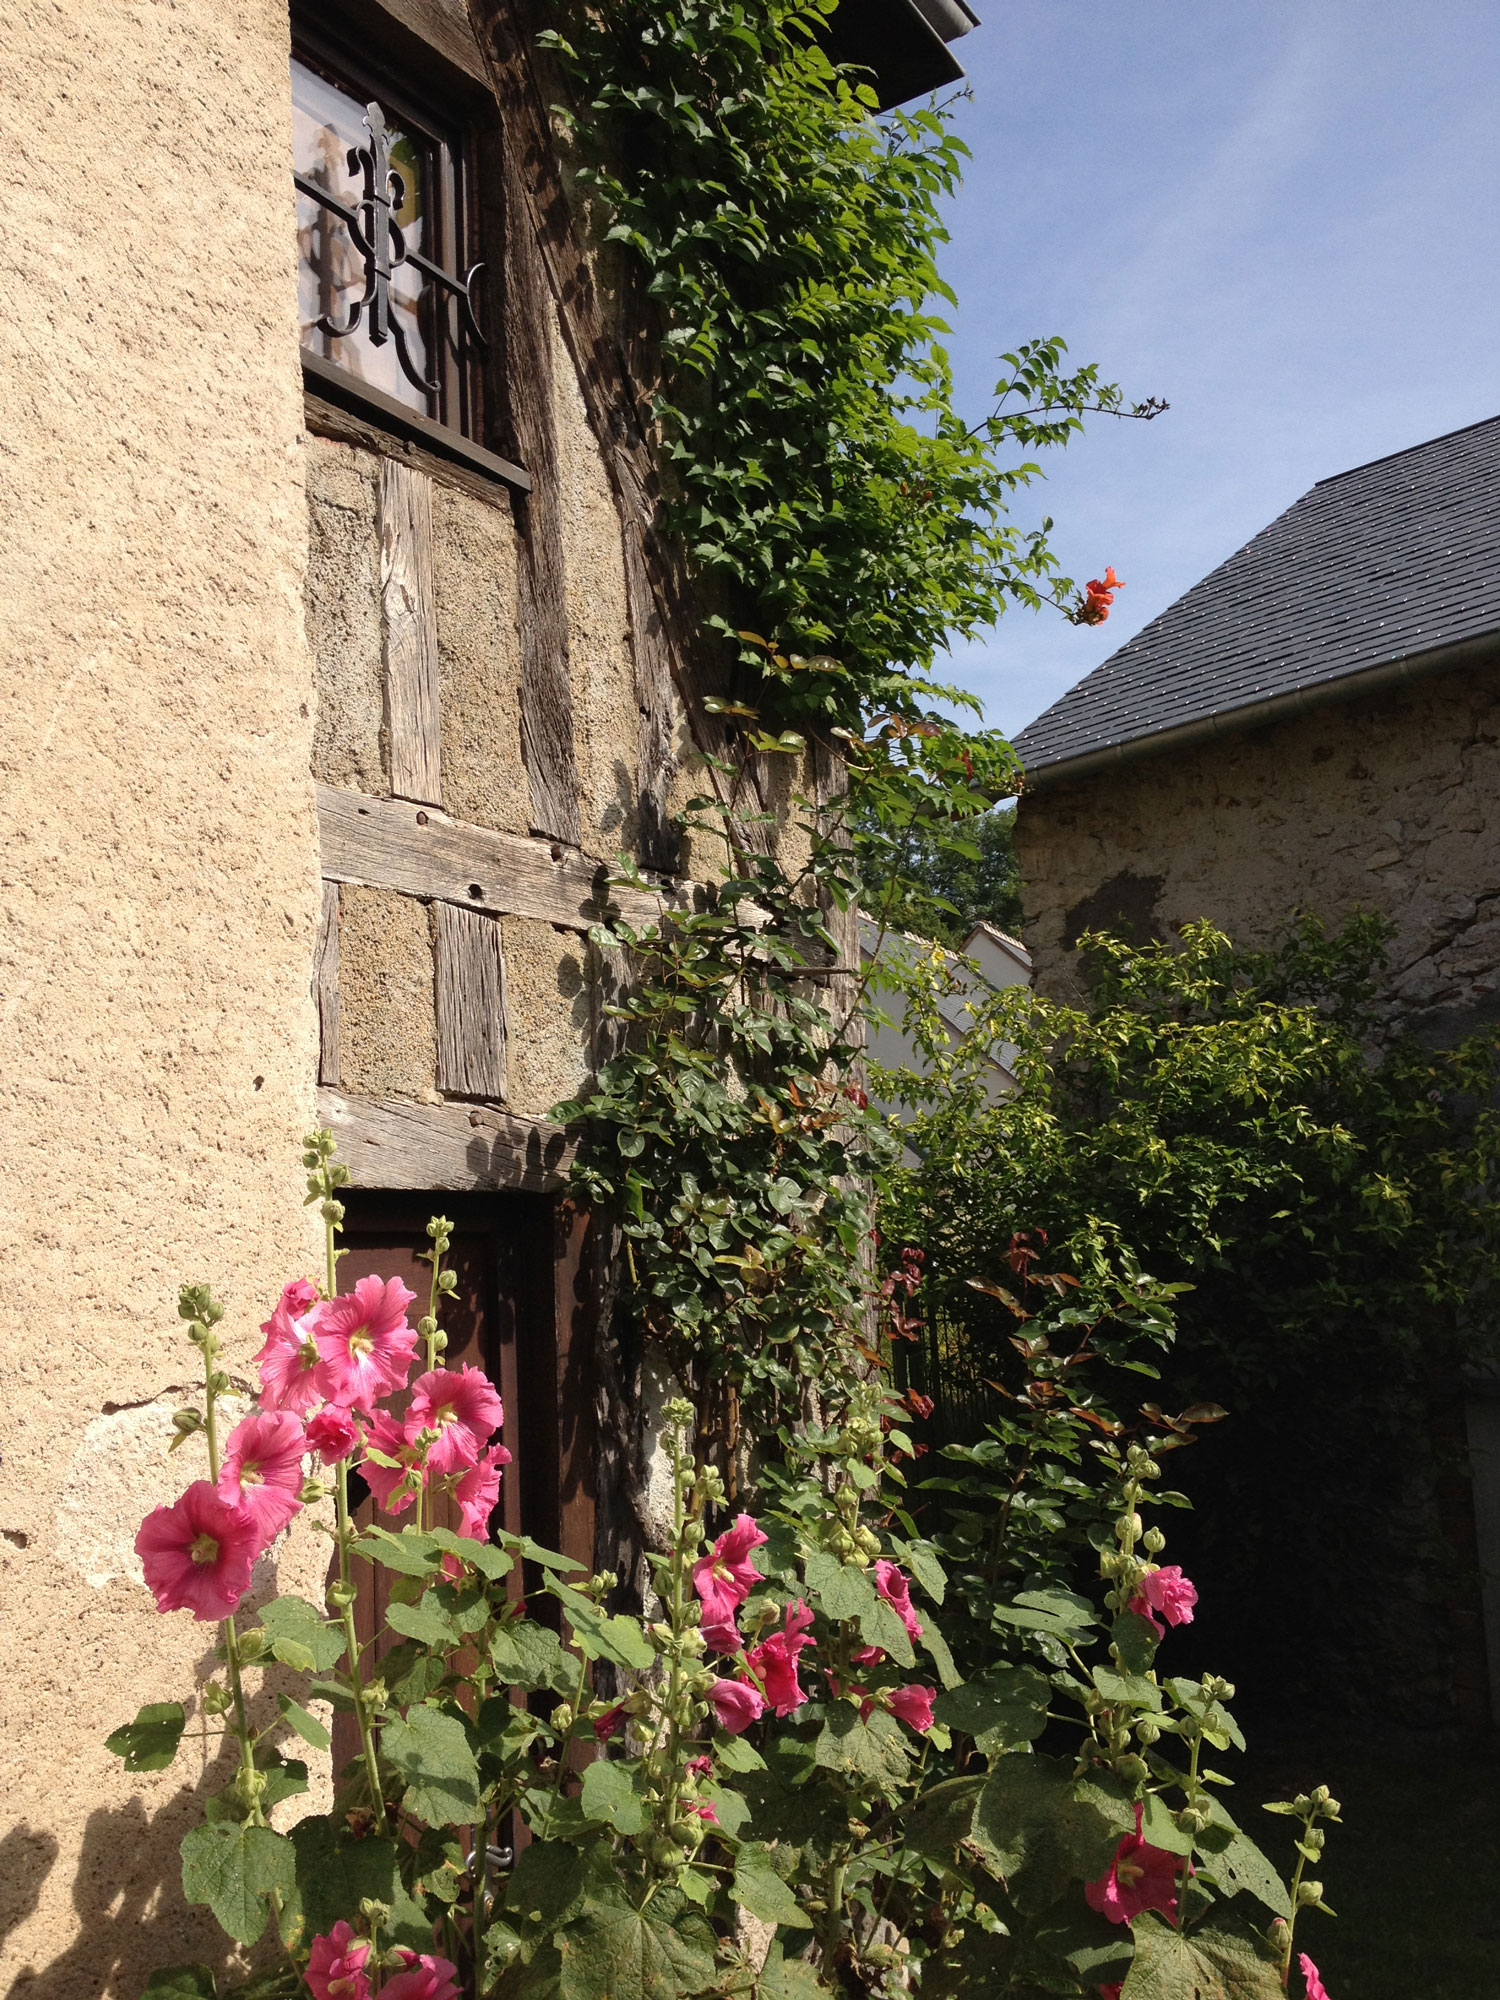
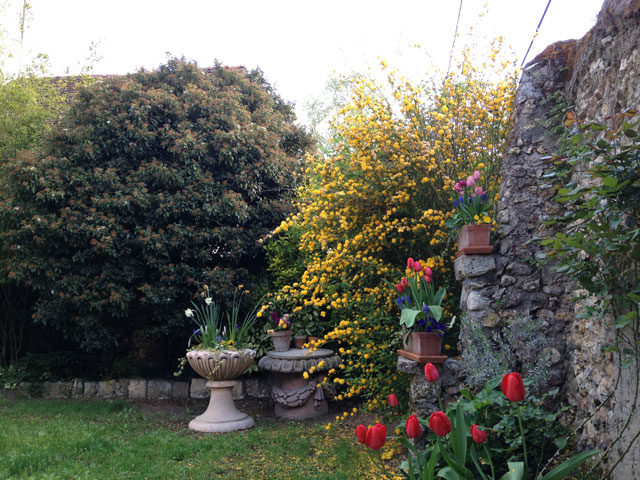
By then, we are well into the second week and decide to extend our stay by a third week, having our tea break in the garden and feeling sorry that we can’t be out on our bikes using the weather to better advantage and, in particular, seeing all the tulips in Château de Cheverny.
I’m sure you can’t wait for the next episode!
Waiting with bated breathe!
Such a shame we have all missed out on the tulips in the Chateau de Cheverny.
Next year, next year!
You are right, I can’t wait for the next episode! You are having so much ‘fun’ with your renovations and I’m glad that I get to enjoy them in the final product.
Now I have shooting pains in my hands …
What a lot of work, a lot of it that important unseen graft which ensures a good, secure , lasting job.
I like the term ‘percussion drill’, in the UK it is a more ordinary sounding hammer drill.
Looking forward to the next episode… perhaps a pic of you in your throw away overalls ;o)
Jean Michel is very thorough and meticulous so does an excellent job each time.
Percussion drill is a direct translation 🙂 but I just checked Wikipedia which gives this explanation: “Lower power units are usually called “hammer drills,” typically have a “cam-action” or “percussion” hammering mechanism, in which two sets of toothed gears mechanically interact with each other to hammer while rotating the drill bit…. More advanced power units, usually labeled “rotary hammers”, tend to be larger and provide a bigger impact force by utilizing a technology called the “electro-pneumatic hammering mechanism.”
I think we must have the second type. It’s borrowed because they cost a fortune and you really only need them for very large holes through very thick walls.
We both work with gloves all the time which makes taking photos as bit complicated but I’ll have to remember to have my photo taken next time. They are the same overalls I wore when we renovated the fireplace http://www.aussieinfrance.com/2013/01/more-progress-on-the-fireplace/. I can’t find my cap though.
Yuk. I don’t envy you one bit, having been through similar myself. Well done on getting through it and now it’s done it will all be so much better than before. The single most disgusting job we did in our house was taking down the ceiling above our office, which was holding up a decades old rats’ nest.
How revolting! So far, we’ve only had an empty hornets’ nest.
Wow! This is such an undertaking – y’all are certainly learning a lot, I can’t even imagine. Things are looking great though! 🙂
The learning curve is certainly very steep! It’ll keep Alzheimer’s away with a bit luck. I haven’t posted about the upstairs kitchen JM made this winter, because it isn’t quite finished – still a couple of minor details to go. The next major project however is not taking place until summer 2015 – adding a large window to the downstairs kitchen, which also has a 70 cm wall but it’s the solid type (we hope) that shouldn’t cave in. It is still going to be a major operation though. Then there is the barn we use as a garage whose roof needs replacing. Not to mention an insert in the downstairs fireplace. Then Jean Michel wants a skylight in the mezzanine. And that’s before the new gîte even gets started!
Wonderful Jean Michel is so handy. Just reading about all of his efforts with the ceiling and then, the wall, I felt overdue for a teatime of my own!
It certainly helps to have a husband who is so handy!
Excellent. Absolutely loved reading and very helpful at the same time 🙂
Thank you!