To the untrained eye, the current state of the fireplace may not seem any different from the last time I posted. However, another 5 days’ work put has been been into it!
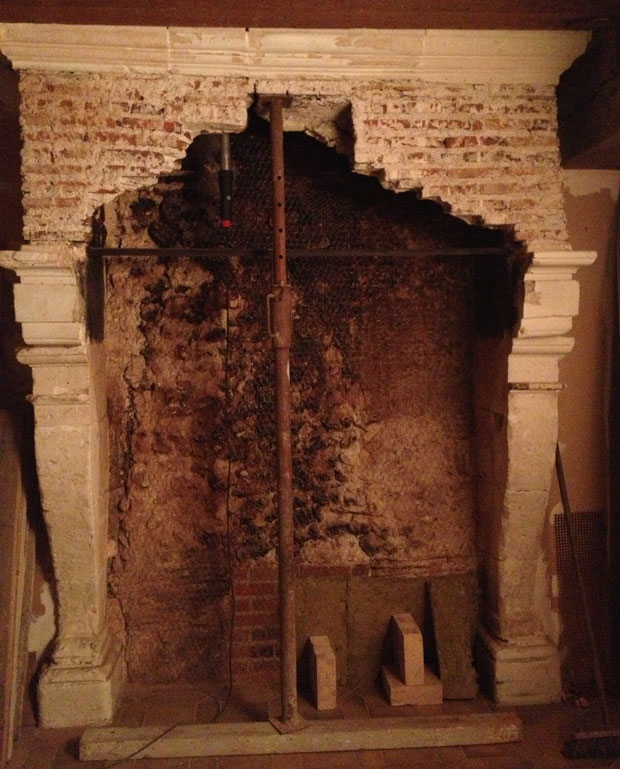
Now fireplaces are more complicated today than there were in the past for a very simple reason. Fires need air which used to be supplied by draughts from windows and doors. With the invention of double glazing and airtight seals around doors, there’s nowhere for the air to come in. So the fire smokes. The remedy – adding an air intake at the back of the fireplace – is not quite so simple in an old house with 70 cm walls.
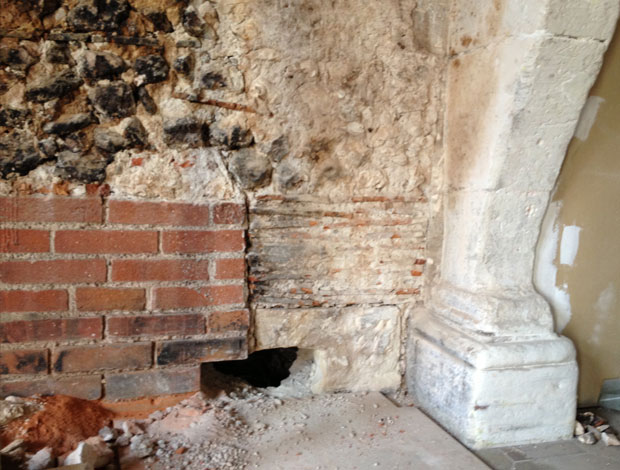
However, Relationnel already has wall-drilling experience from installing the washing machine which used to empty out into the downstairs shower, so he attacked the wall with great gusto. It now has the necessary air intakes though it took two operations. The other thing you need in a chimney today is a hatch affair called a trappe in French. I don’t what it’s called in English.
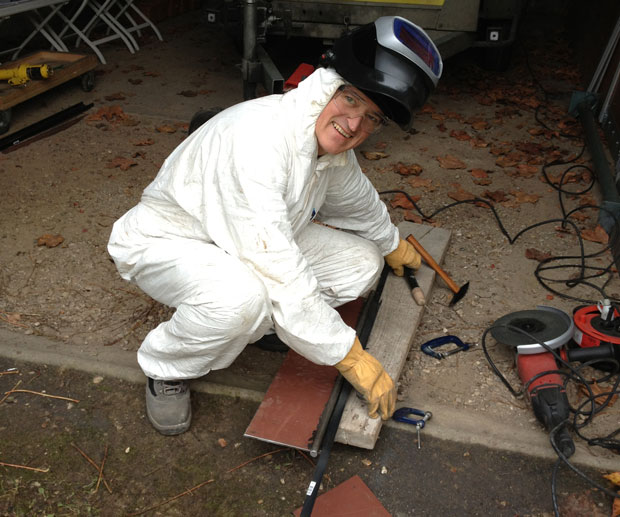
Its aim is to seal up the chimney when you’re not using the fire and to regulate the air flow when you’re using it. Since our four-hundred year old chimney is not at all standard, Relationnel had to make the trappes (three of them because of the width of the chimney and the fact that he’s doing this single-handed). This involved a lot of cutting and soldering of frames and plates that caused a couple of black-outs.
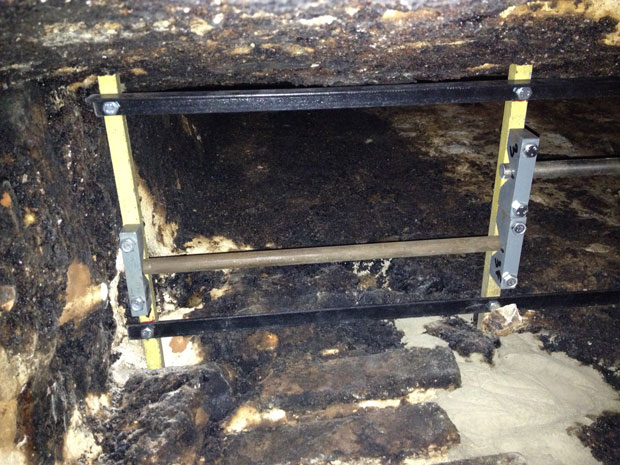
Once the trappes were in place they needed painting with special, ultra-sticky fire-resistant black paint. This is where I contributed my savoir-faire from painting the front gate this summer. It was a good thing that I had a throw-away overall with a hood or I’d have had to cut my hair afterwards. As it was, my rubber gloves kept sticking to the paint jar. But I did a wonderful job while Relationnel got on with some more skilled labour.
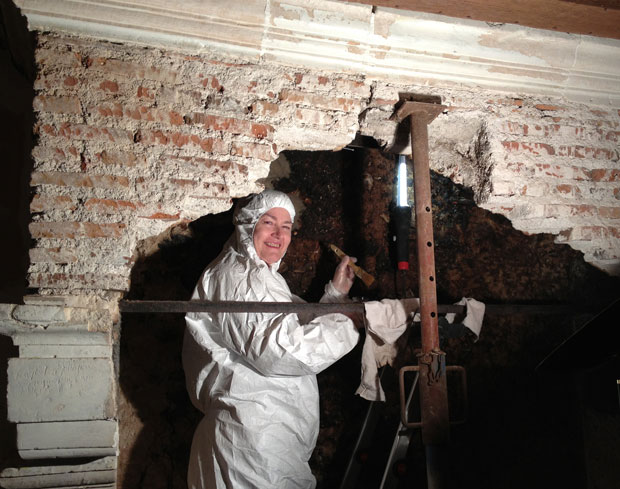
The next step was to decide on the design of the sole or hearth. Currently, there is just tiling which obviously isn’t ideal. I immediately rejected the idea of a metal plate as being inesthétique. We’ve inherited some otherwise very expensive refractory bricks from the Previous Owner but there are all shapes and sizes. Six reasonably ugly air vents also have to be incorporated somewhere so Relationnel lugged up the bricks and we set to work.
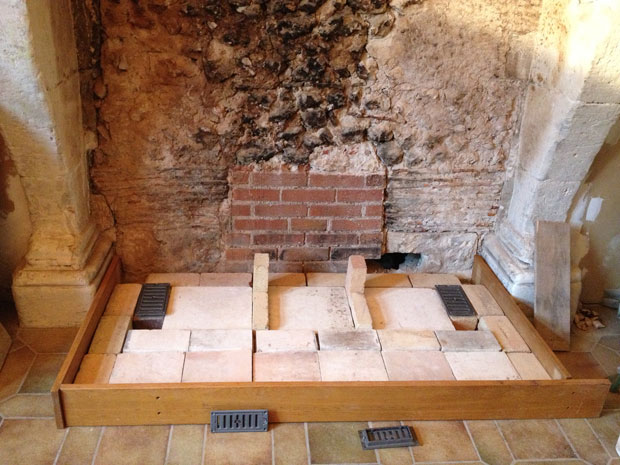
After some slight initial friction due to my total ignorance of how these things work, we found a pattern we both agreed on. The whole thing will be raised to a total of 18 cm and despite appearances the finished result will be at the same height and those little holes will be filled in with half bricks. There’ll be an air vent on each side and the others vents will be in the thickness of the sole which will be entirely surrounded with an oak frame like our bedroom fireplace.
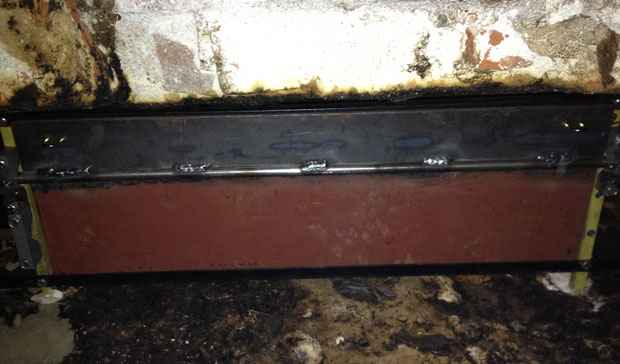
We then moved onto the next stage, to which I contributed with slightly less efficiency, though I was very good as sorting the big nails from the little nails. Not that I really understood why they were mixed up anyway. I’m sure they should be in separate compartments. At the end, my fingers were covered with a sort of grey metal dust.
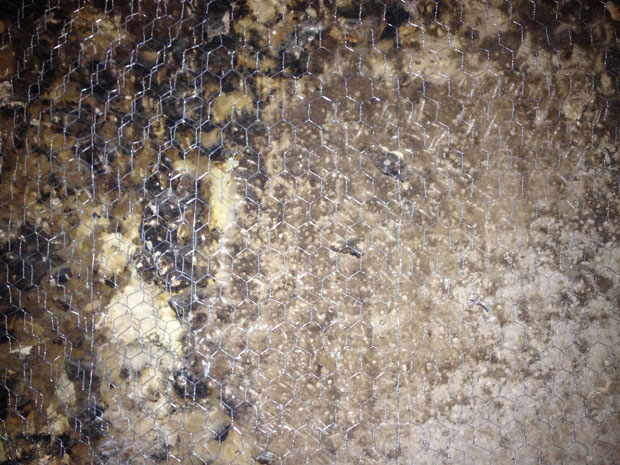
We had to attach a sheet of chicken wire to the back of the fireplace which is made of an assortment of materials including totally nail-resistant stone, crumbly wattle-and-daub, bricks and mortar. My preference goes to the mortar. You’re supposed to attach the chicken wire by driving nails halfway in, then banging their heads over to one side. Yes, well.
I was rather slow because I didn’t want to accidentally hammer my thumb. I did, however, manage to acquire a certain technique with the wattle-and-daub and mortar and Relationnel was pleased with the result.
He’s gone back to Paris now so I don’t know when we’ll be able to resume the work. The next stage is covering the chicken wire with a thick layer of refractory mortar, to which I shall also be contributing. I’ll be wearing shoe covers as well, I’d say.
No news from Mr PPO, by the way.



3 thoughts on “The Big Fireplace Operation – Stage 2”